UPort Wireless UART
The local host application is not implemented yet. Use an app that supports serial communication over TCP, or use the USB-to-serial over USB/IP feature by connecting your own USB-to-UART adapter and forwarding it with USB/IP. You can then debug with a serial terminal tool on your computer.
If UART health is red, the UART connection is abnormal. Tap the Rescan button at the bottom of the screen, or click rescan in the web interface. UPort will rescan UART devices.
Step 1: Configure the UPort UART
There are two ways to configure a UPort UART: from the screen or from the web interface. The web interface is recommended.
-
Configure the UART in the web interface.
Select any UART at the bottom of the home page. The selected UART is highlighted. Choose edit on the right side, configure the required parameters, and save.
-
Configure the UART from the screen.
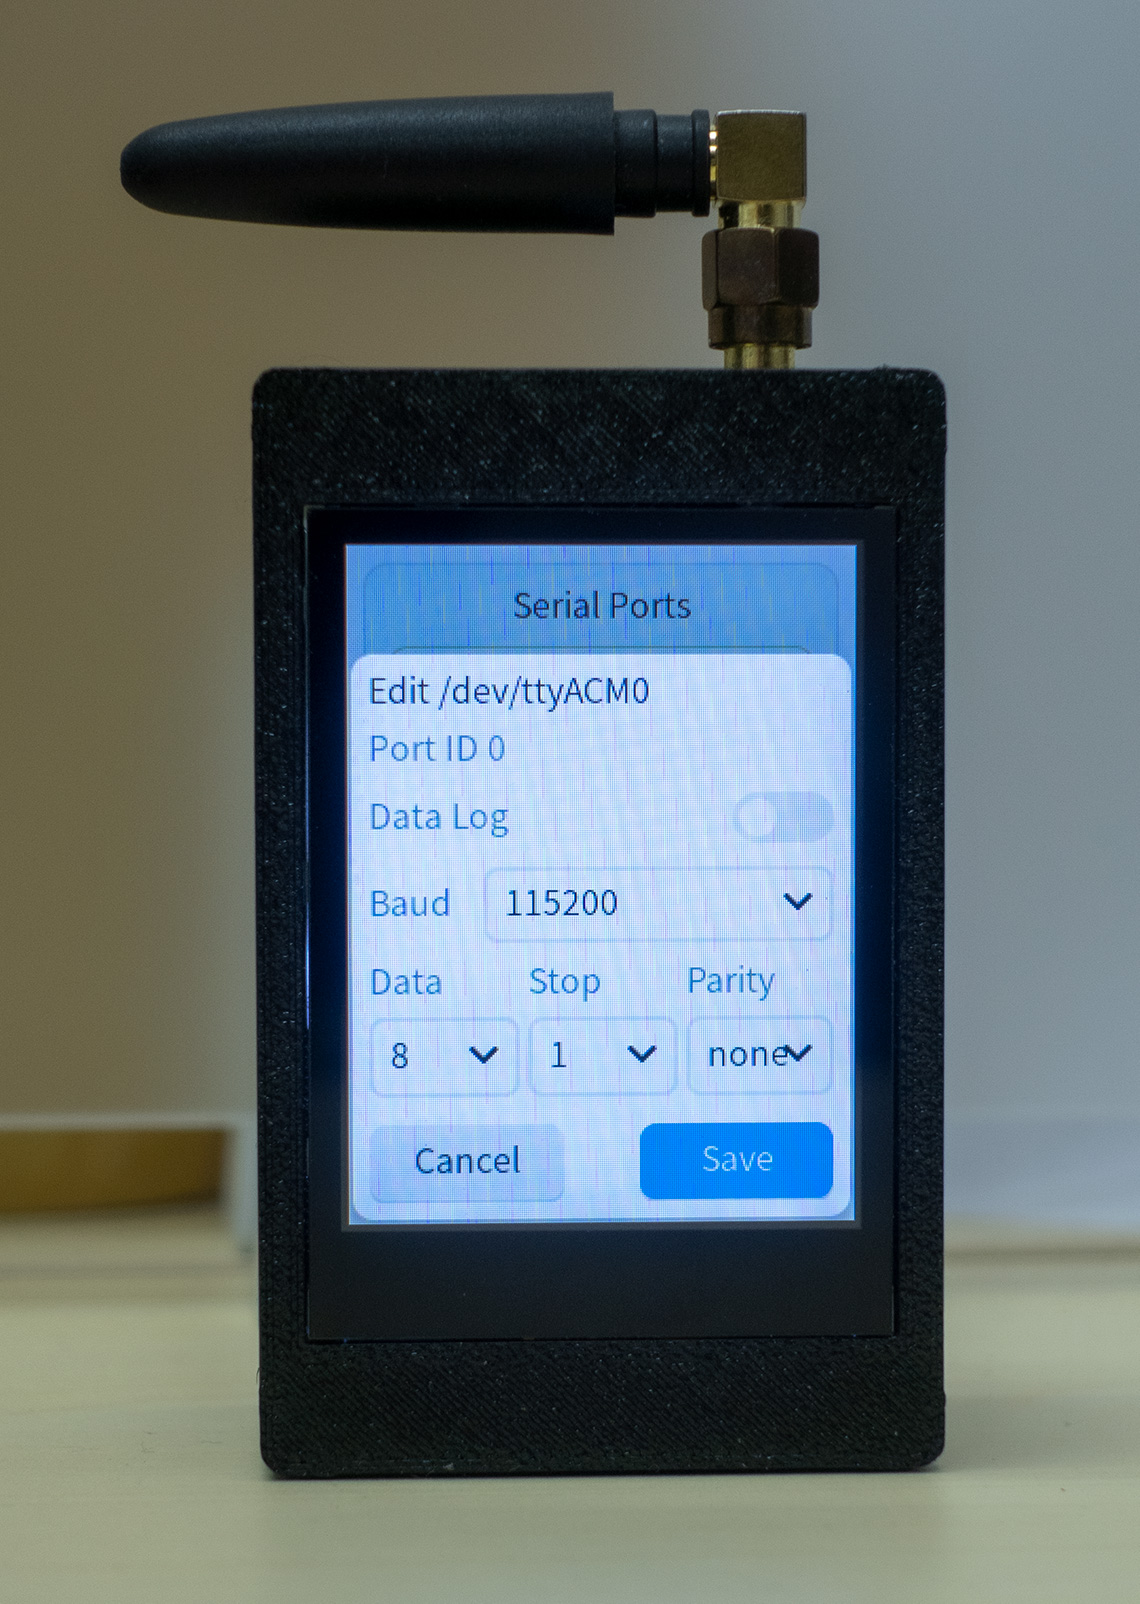
Enter the UPort screen interface, find
Serial Listin the navigation bar, and tap any UART below it. More information expands under the selected UART. Tap theEditbutton under the information to edit the settings, as shown below.
Step 2: Connect to the UPort UART Passthrough Port
By default, the UPort UART passthrough port is 20000.
In serial port order, UART 1 maps to passthrough port 20000, UART 2 maps to passthrough port 20001, UART 3 maps to passthrough port 20002, and so on.
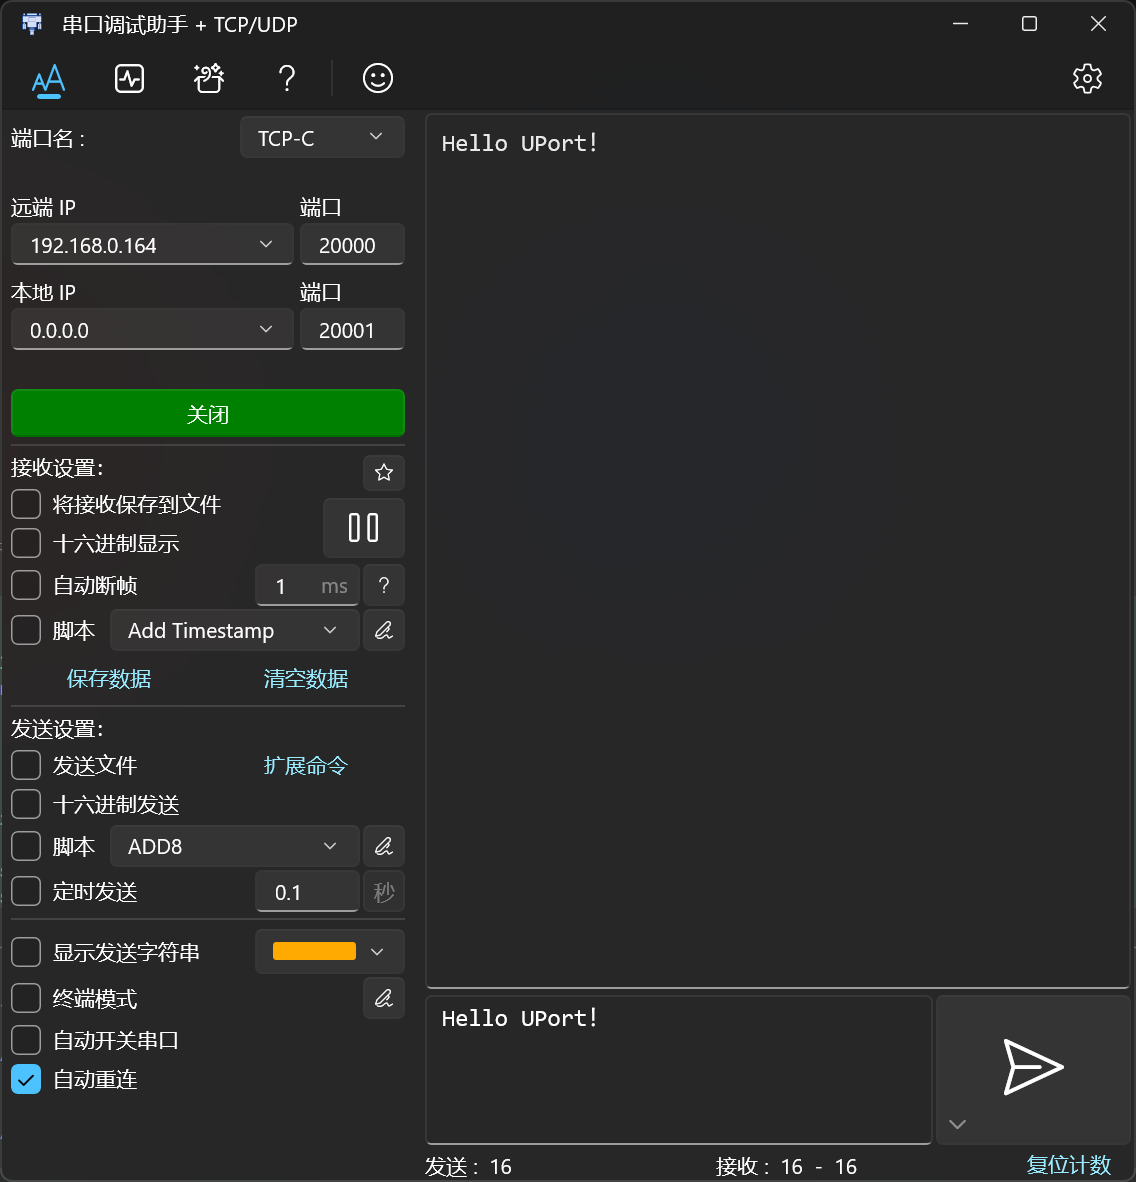
Configure the connection in a serial terminal that supports TCP, then test it with a loopback wire. The result is shown below:
Use the Command Line for UART Interaction
On Linux, you can use the nc command to interact directly with the UART:
Interactive connection to UART 0:
nc 192.168.123.1 20000
Interactive connection to UART 1:
nc 192.168.123.1 20001
Send a command with CRLF, such as an AT command:
printf 'AT\r\n' | nc -w 2 192.168.123.1 20000
If your nc supports -N, you can also use:
printf 'AT\r\n' | nc -N 192.168.123.1 20000
View a binary response:
printf '\x55\xAA\x01\x00' | nc -w 2 192.168.123.1 20000 | xxd -g 1
On Windows, you can use the following method for command-line interaction. Install Nmap first, then use the included ncat.exe.
Interactive connection:
ncat.exe 192.168.123.1 20000
If the UART device requires CRLF line endings, use:
ncat.exe --crlf 192.168.123.1 20000
Send one command in cmd.exe:
echo AT| ncat.exe 192.168.123.1 20000
Send to UART 1:
echo AT| ncat.exe 192.168.123.1 20001
Key point: after the connection is established, anything you type in nc/ncat is written to the corresponding UART. Data returned by the UART is displayed directly in the terminal. socket_serial.py allows up to 3 TCP client connections per UART at the same time.